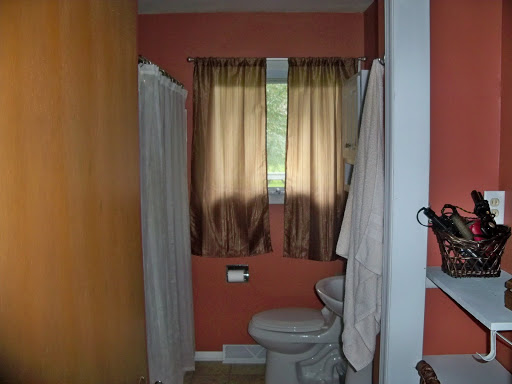
Before
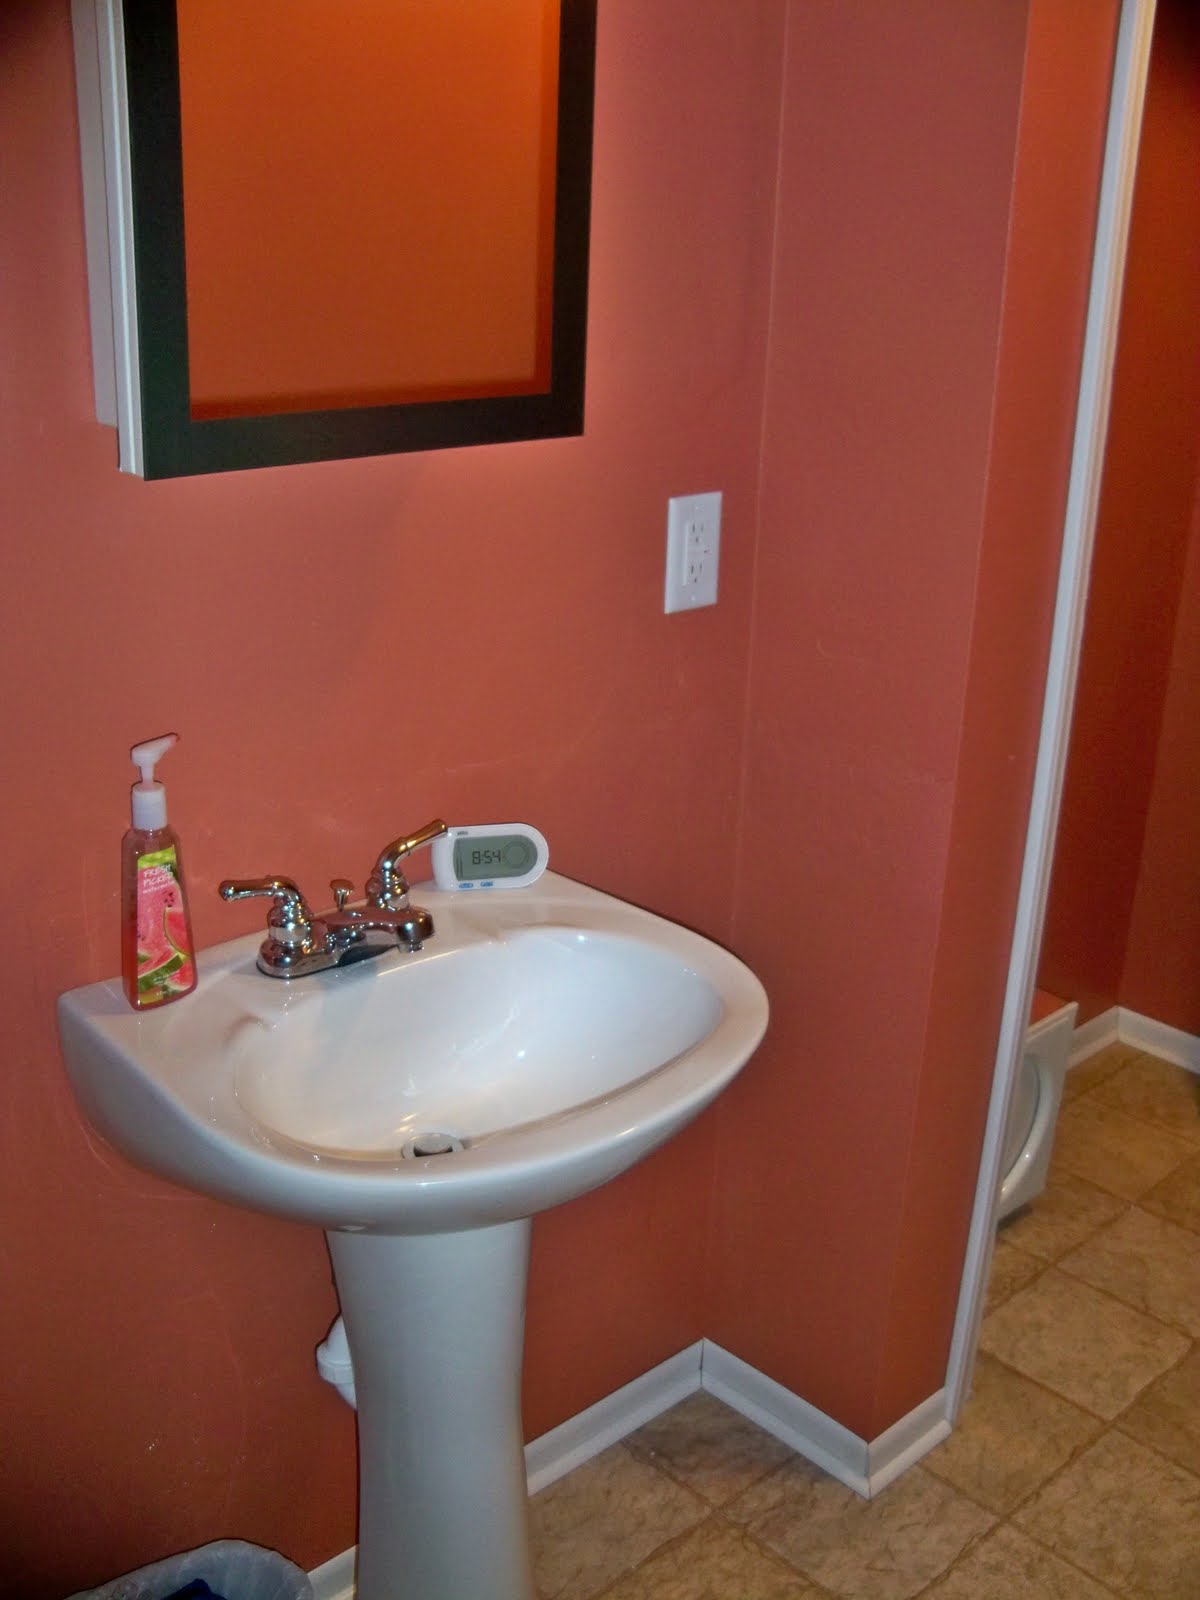
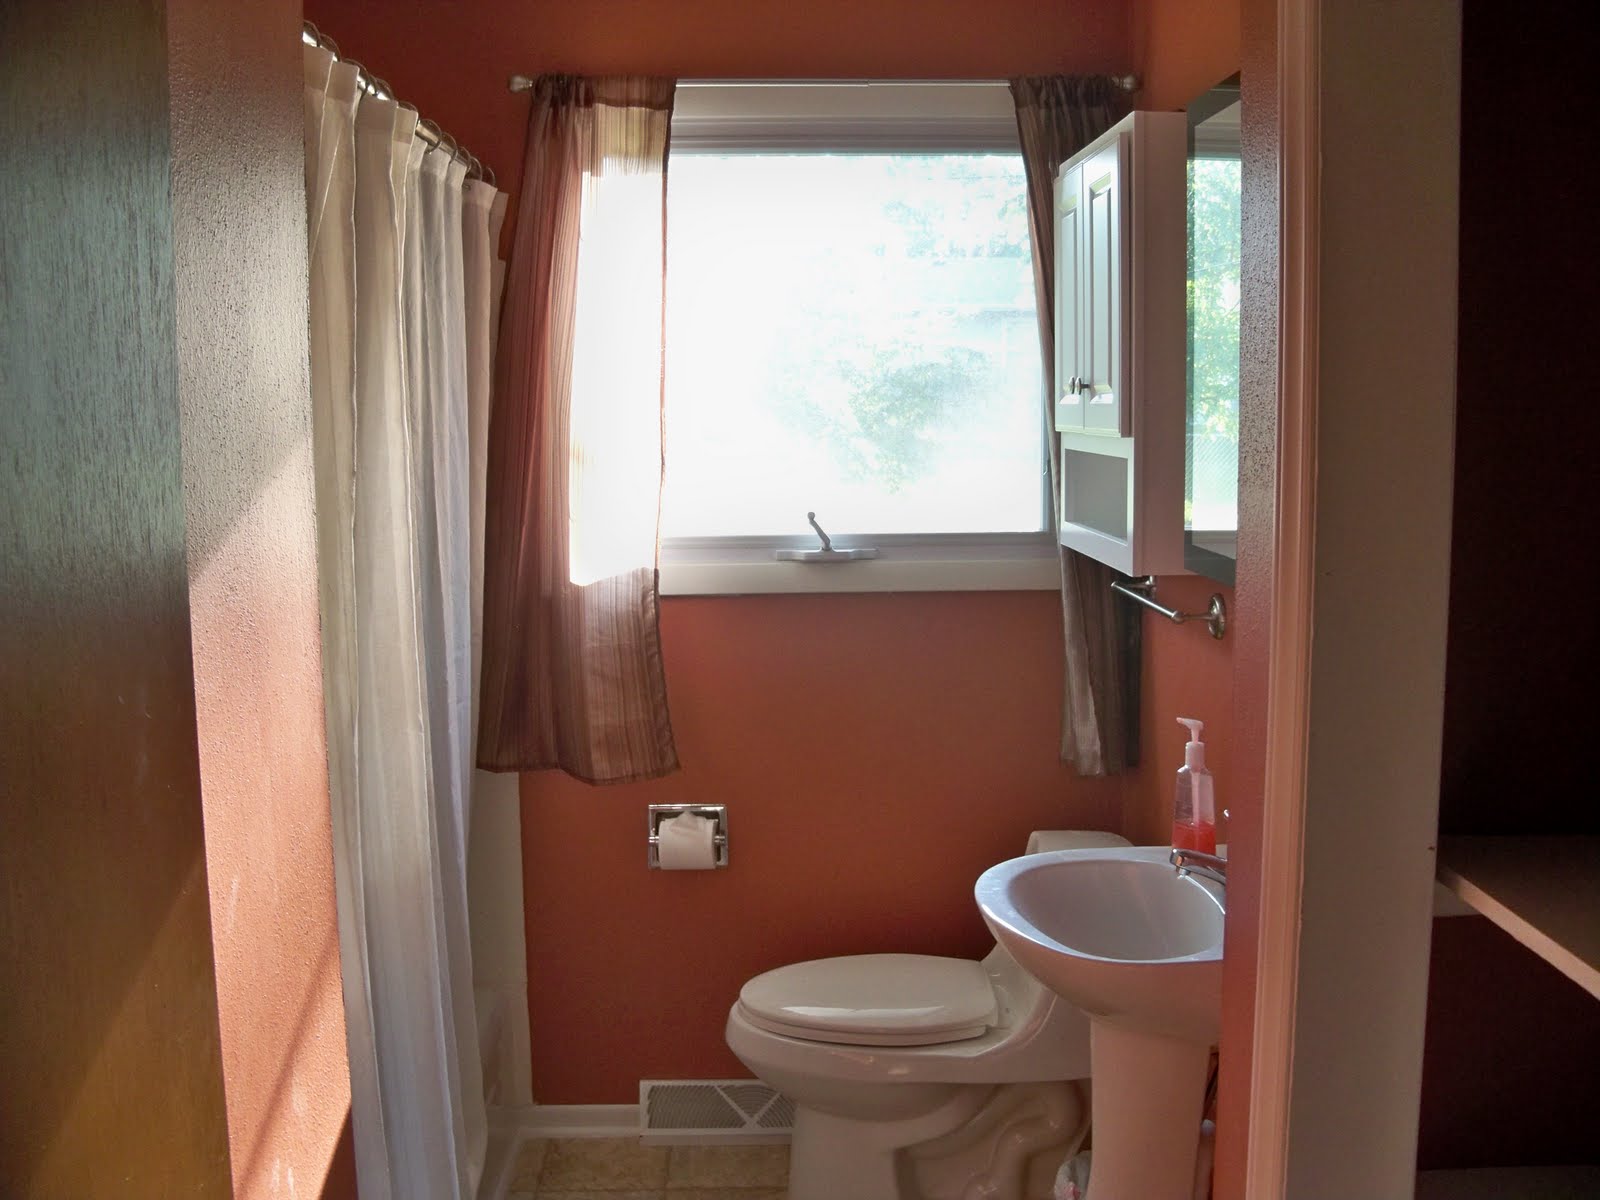
After:
This is going to be a big post as the bathroom was our biggest project so far. It started the day after we moved in when my dad and I tore out the sliding glass door on the shower.


Unfortunately I didn’t have my camera handy so I didn’t get any pictures of the glass door before we tore it out. You can somewhat see it from the listing picture, so that will be the main “before” shot.
After Sliding Door Removal
As you can see the room is an eye sore. We have our old green shower mats that clash oh-so-well with the deep teal colored walls. The already small bathroom is further confined by an over-sized vanity that the previous owner’s husband must have build from an old door, and a tiny toilet that must use a few gallons every time it flushes. The closet, which I unfortunately didn’t get a “before” shot of, is canary yellow with wallpapered shelves. Needless to say I wanted to change this bathroom the first day we moved in, but we decided to wait until we finished some easier projects first.
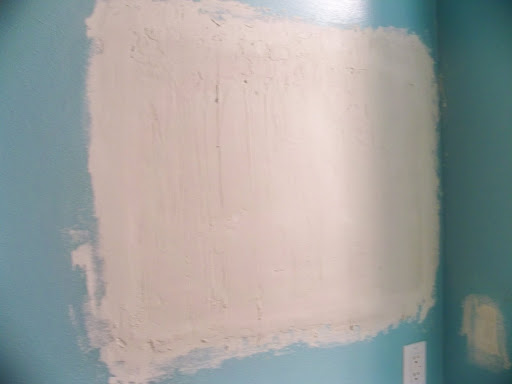
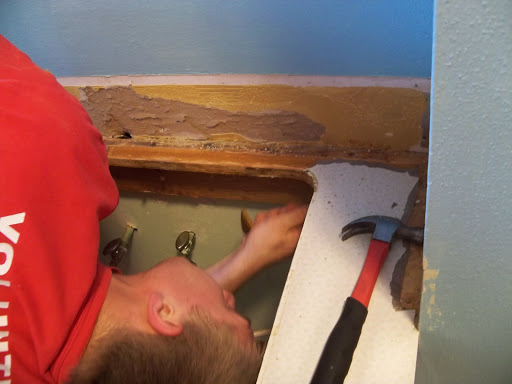
The first step was removing the massive recessed medicine cabinet.
This was about 30″ wide and 20″ tall, so it would require use to patch the drywall, which we had never done before.
For some reason the drywall wasn’t the same level as the wall -it was recessed back about 1/4″. We thought it would be a good idea to mud the whole thing so it would be the same level…bad idea. The entire section is now higher than the wall. Thankfully it becomes less noticeable as the next steps happen.
Over the 4th of July I found the toilet and sink I wanted on sale and in stock at the local Lowe’s. When we got there to pick up the toilet and sink we found the medicine cabinet and over-the-toilet cabinet I had been looking for and figured we would just get everything all at once. Luckily, Lowe’s had been sending me 10% off coupons like it’s nobody’s business so we purchased all four items for less than $400. Since they were sitting in the spare room, just waiting to be installed we figured we’d embark on the adventure the following weekend.
Friday, July 8, 2011 – Demo Time
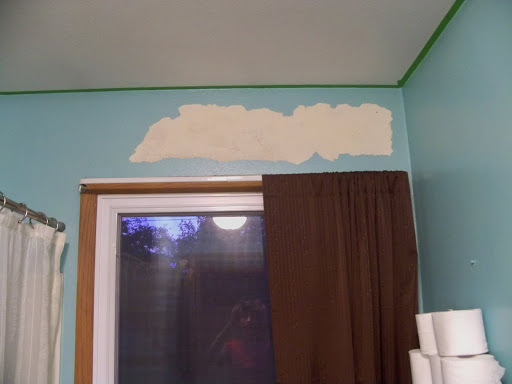
First I had to scrape off some flaking paint. We’ve had this issue in a few rooms where the previous paint didn’t adhere to the wall and just fell off in sheets. We put some extra grit in the paint and that seems to help hide the lines a bit.
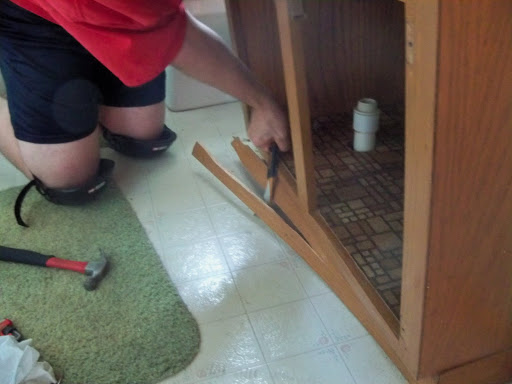
We thought the vanity and sink would just take an hour to remove. We started removing parts of the vanity, hoping that would shed some light as to how it was attached.
After some minor destruction, we realized it was nailed into the wall and floor with 6″+ nails. In addition, portions were glued on to the wall, as if the nails weren’t enough. We got the metal stripping and doors off at this point and sheets of the flooring peeled away.
We were having no luck and Jason wanted to see if his saw would help at all, so he started cutting. Unfortunately that didn’t help at all. In this shot you can get a peek at the yellow closet.
After we got the sink out (about an hour later) Jason let me go to town on the vanity. This resulted in a hole in the wall, but we ended up cutting an even bigger hole there anyway, which I’ll mention later.
The tiling was glued on, so that left a nice solid chunk of glue all across the wall. When we tried to get it off it just tore away at the drywall.
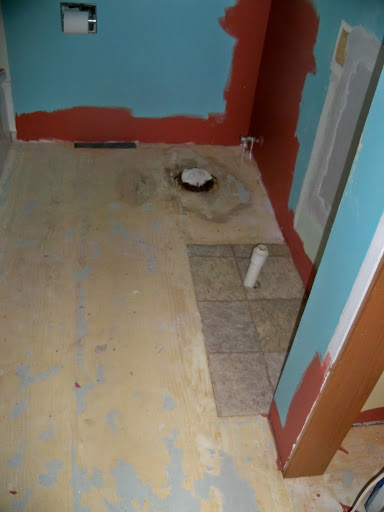
Finally! The vanity is out! This is when we realized that the previous owner put an entire sheet of plywood over the old flooring and around the vanity, instead of just laying new flooring down. There is a 1/2″ gap between the dark and light wood pictured below.
Flooring remnants, some of which were pretty moldy (mainly those around the sweaty toilet).
Saturday, July 9, 2011
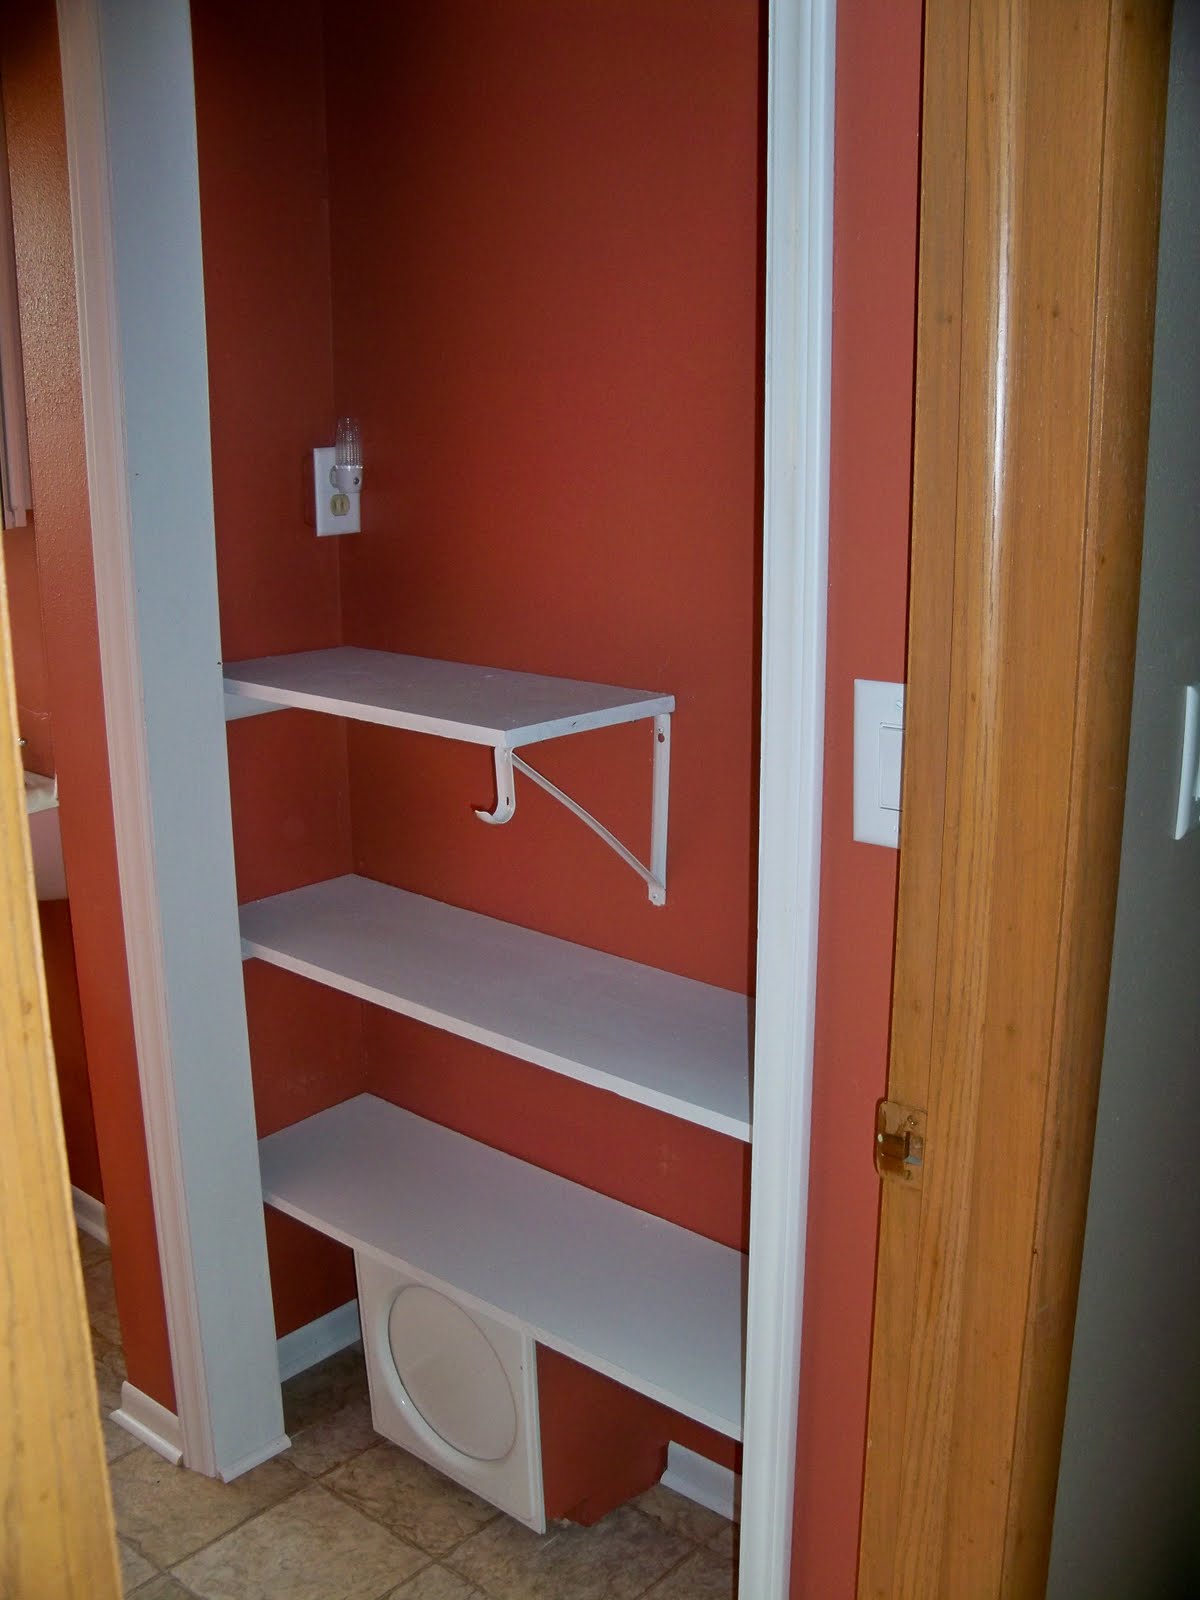
I started in the bathroom taking out the molding, track, and shelves from the closet.
I was too busy most of the day to take pictures during the process. There was an old pipe coming out of the wall where the sink drain used to be and the owners capped it off. It was an eye sore and got in the way with the new pedestal sink we were putting in, so we decided to cut the dry wall and cap off the pipe behind the drywall. While we were at it, we thought we could cut the water pipes and have them come up through the bottom of the sink instead. This took a few hours to do because the residual water in the pipes was preventing the solder from getting hot enough to seal the pipes. A little plumbers tip from the grandpa solved the problem and we had running water without leaks!


While they did that I worked on painting the trim and corners in the bathroom so I didn’t have to tape and do it later. Once that was done my dad and I patched the dry wall (much better than last time) and we put an extra piece of flooring down to make up for the gap in the floor where the vanity was. We took the toilet out and I spent an hour scraping the old wax ring off (something I hope to never do again).
The next step was to lay the new flooring down.
So far so good!
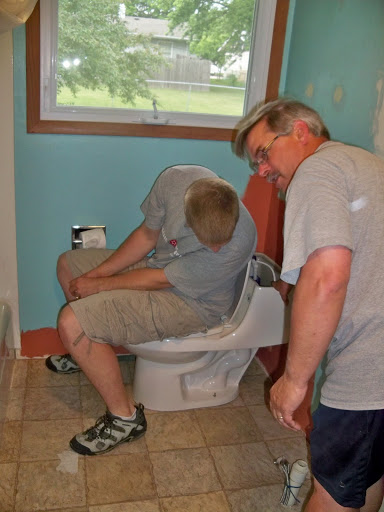
Next they put the new one-piece toilet in (so much easier to keep clean). There were only a few problems along the way (of course).
And Jason got to set the wax ring.
9 hours later we figured it was time to break for dinner.
Stay tuned for more updates….
After dinner we got back to work and finished the painting. Throughout the next week we ran into a few problems (of course) but by Friday we had the sink up and running (but leaking).
Saturday we fixed the plumping and put the water lines behind the pipes. It was a tight fit but we got it to work.
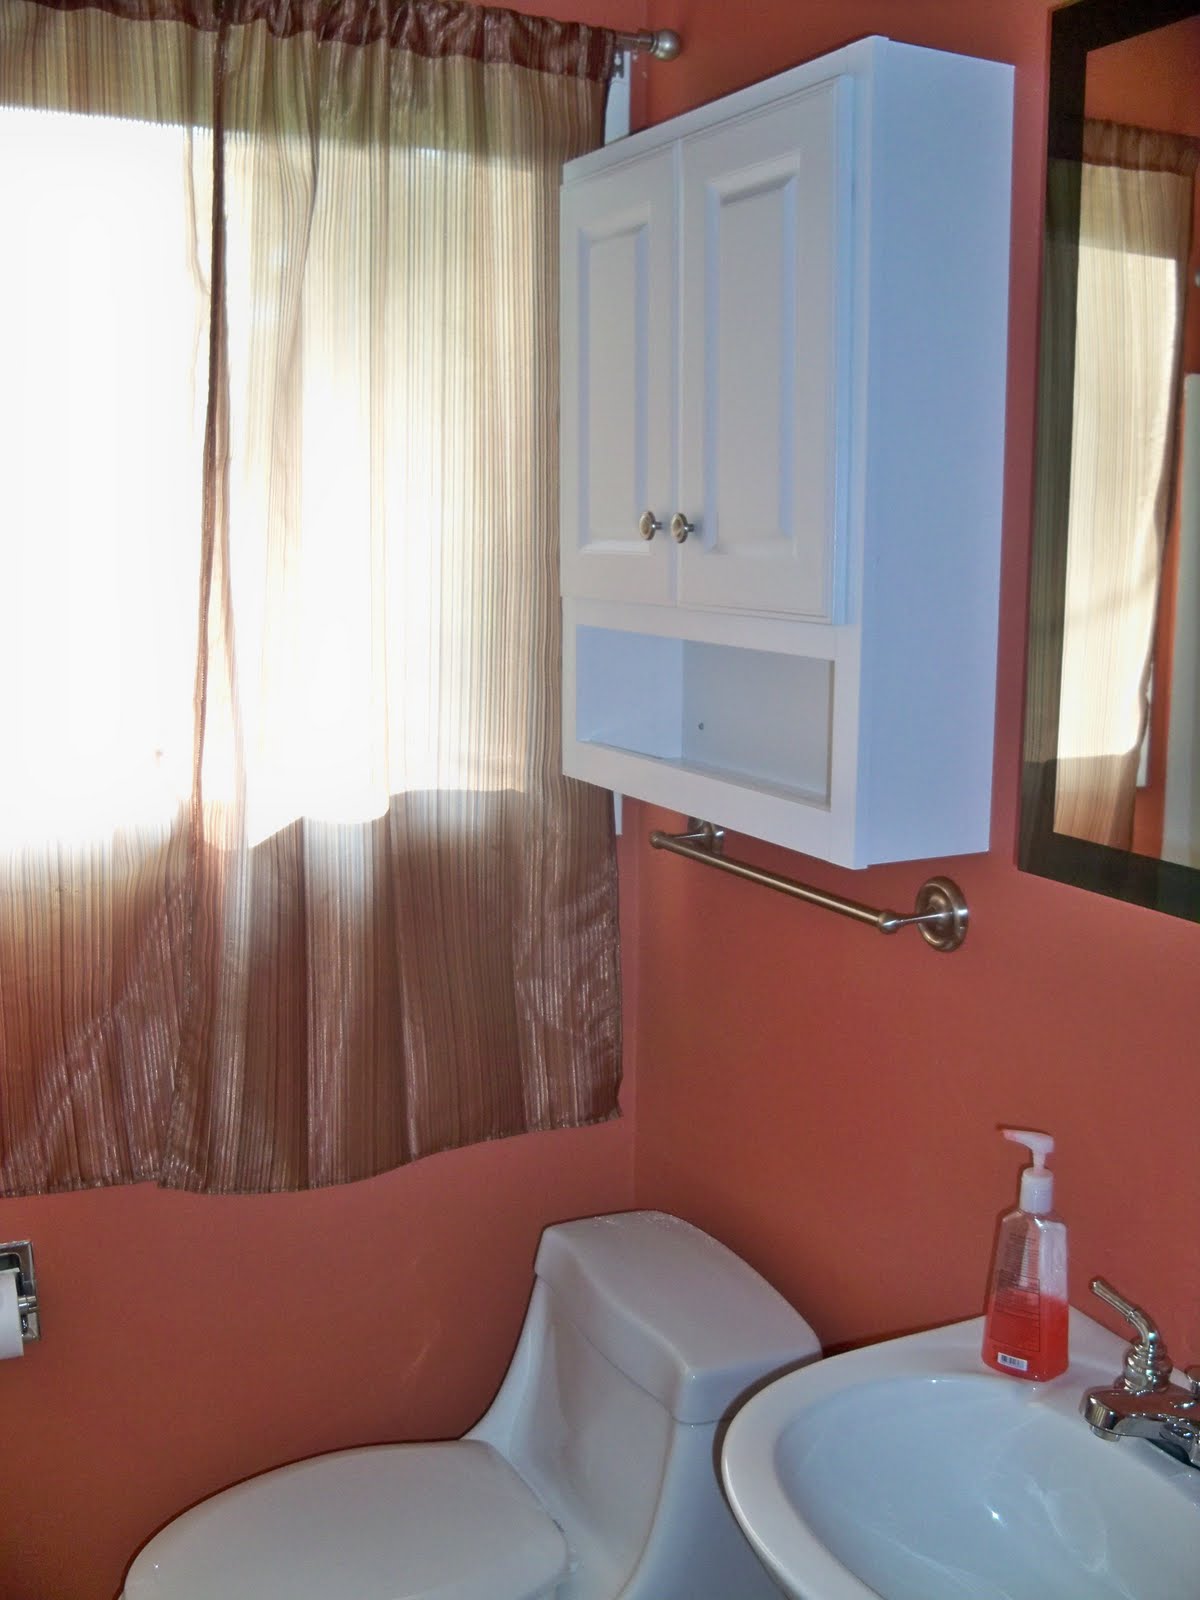
Saturday we installed the medicine cabinet and over-the-toilet sink and we finally had something that resembled a bathroom!
Sunday Jason went to town on the door frame, baseboards, and corner rounds.
Tuesday I had a chance to start installing the shelves I painted and cut over the weekend. I also installed our new curtain rod and towel bar.
UPDATE: I have done a little more work on the bathroom. The crown molding will be coming in the next few months as it is much more complicanted that we thought it would be.